Partially unroll your tarp to cover the damaged area from the roof s eaves to peak.
Glue down a tarp on the roof.
Lay more 2 by 4s on either side of the tarp and attach those as well for a tight well secured water barrier.
Positions several 1 2 pieces of lumber on the tarp running vertically down the slope of the roof.
The reason for the longer nails is to go through the furring strips the tarp and then just enough length will be left to bite into the roof sheathing.
Pull away from each other until the tarp is fully unrolled.
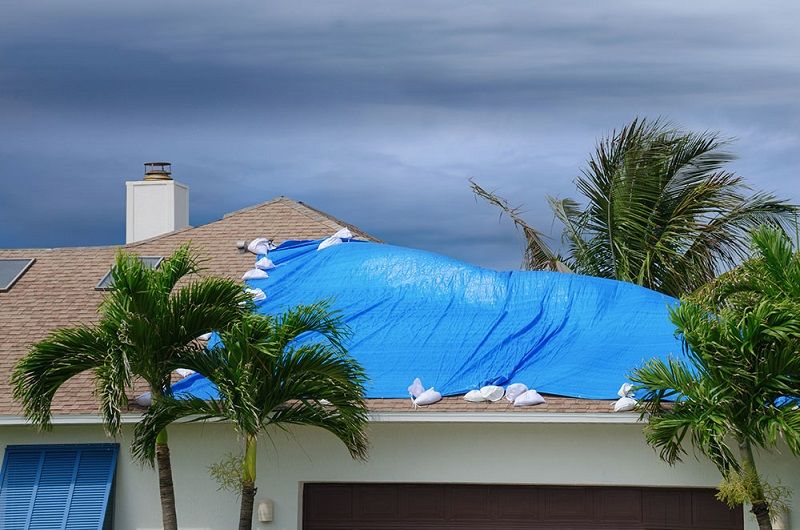
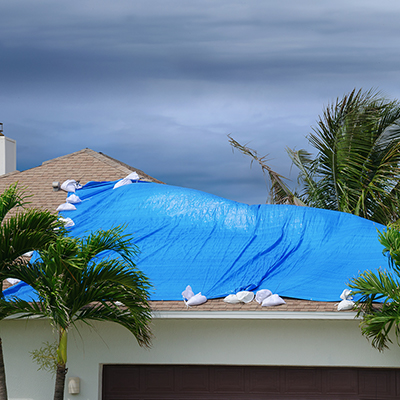
Lay the tarp across the roof so that at least 4 feet 1 2 m lies on the sloped part of your roof on each side known as the peak.
Lay the tarp flatly over the damaged area and make sure there are at least 4 feet of it overhanging past the roof s peak and the rest over the eave.
Then fold the excess tarp under a few rotations for a tight clean fit.
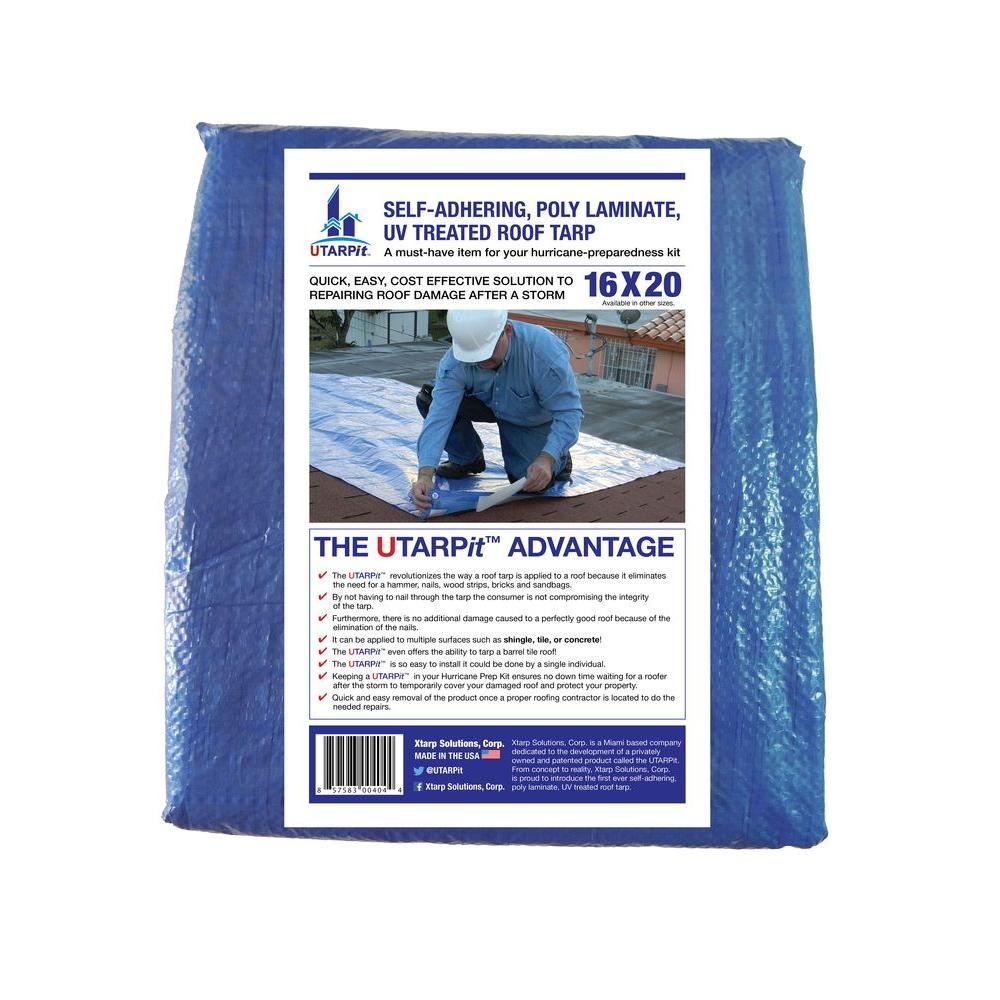
The utarpit tarp is a self adhesive water mitigation product.
Grab one corner of the tarp and have a helper grab the other end.
Don t forget to secure the strapping used in step 4.
Screw the roll side down either at the edge of the roof or to the fascia with a few screws.
Don t expose the glue to air long enough for it to begin drying.
Utarpit is the best solution to protect assets pre and post various weather conditions.
The 2 by 4 should be about 2 feet longer than the tarp width.
Sandwich the tarp by nailing a second 2 x 4 board to.
Lay the tarp out flat over the roof.
Screw the 2 by 4 directly into the roof to secure it.
Let the rest of the tarp hang off the lower border of the roof that overhangs the wall known as the eave.
Never lay the tarp out during a storm.
There should be an additional 4 feet.
Attach the 1x2s through the tarp and into the roof decking with eight penny nails about every 16 inches.
Pulling the tarp tight around the edges apply 1 3 strapping with deck screws every 8 to 12 making sure you have one within 2 to 3 of each edge.
To fasten the furring strips to the tarp and roof use 2 to 3 galvanized roofing nails.
Apply the specially formulated plastic glue to the two tarps to be attached as directed in the packaging.